How to Create a Drop-Down List in Excel in Five Steps
An Excel drop-down list is an easy way to organize and add additional data to your spreadsheet without taking up additional space on the worksheet. Drop-down lists are especially useful when you have a large amount of data that you need to access regularly, but don’t necessarily want to keep visible on the worksheet. Here’s how to create drop-down lists in Excel in five steps.
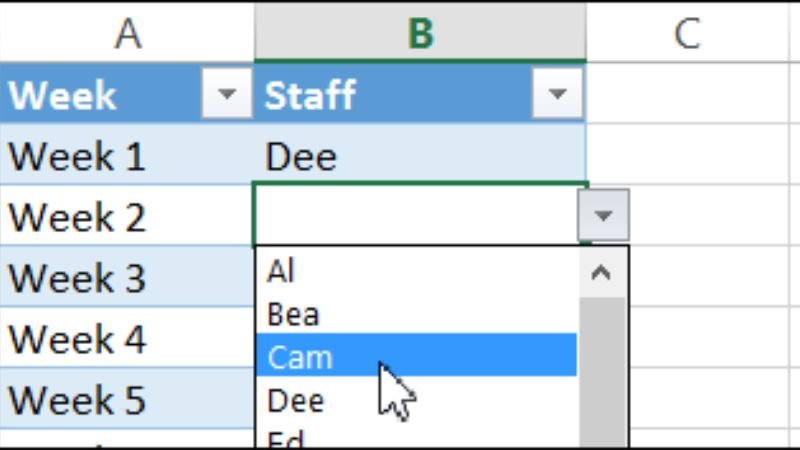
Step 1: Select the cell you want to add a drop-down list
The first step is to select the cell where you want the drop-down list. You can do this by clicking on the cell or by using your mouse to highlight the cell. Click Data then Data Validation. Select List from the Allow: menu and enter a comma followed by one of the items in your list. Click OK, and then click outside of the cell you highlighted so that it becomes unhighlighted again, as shown below:
Now if we use our mouse to hover over this cell, we see the data validation options for this specific cell. In order for these changes to be saved, we must save them either by pressing Ctrl+S or through File>Save As.
Step 2: Click on ‘Data’ > ‘Sort & Filter’
The Sort & Filter button is located in the top right corner of your worksheet, next to the Sort button. When you click on it, a menu will drop down. From here, you can select how you want to sort your data. You can also filter your data by value, by color, or by font. If you are trying to create a drop-down list from all the cities in your state, then you might use city as an example for filtering.
A quick way to add more columns and rows is to use Insert > Columns > After/Before. However, if this isn’t what you’re looking for, then there are other ways that may work better. For example, if you need one column before another column but not below it (for example if you have a heading that needs its own row), then place this column above the first column and insert it with Insert > Columns > Above. Another way would be with Insert > New Sheet where these columns could go below (or above) each other as needed.
Step 3: Check ‘Custom Sort’
Sorting your list alphabetically will make it easier to find the item you’re looking for. To do this, click ‘Data’ on the top menu and then ‘Sort’. A pop-up window will appear. Under ‘Sort by’, choose the column that contains your list. Then, under ‘Order’, choose ‘A to Z’. Finally, click ‘OK’. Now, every time you open up your spreadsheet or scroll down through it, your list will be sorted alphabetically!
Step 4: Create your custom sort
- To create a custom sort, first select the column you want to sort.
- Then, click the Sort & Filter button on the Home tab of the ribbon.
- In the Sort dialog box that appears, make sure that Custom Sort is selected in the first drop-down list.
- In the next two drop-down lists, choose how you want to sort your data—in this case, by alphabetical order.
- If your data has headers, make sure the My data has headers checkbox is selected.
- Click OK to close the dialog box and apply your custom sort.
Step 5: Set up your other worksheets and save them as templates
Once you have your named ranges set up, you can create as many drop-down lists as you want on other worksheets. Just be sure to save those worksheets as templates so you don’t have to keep setting up the named ranges every time. You’ll also need to insert a field code in order for the list items to show up on each page of your workbook. To do this, go to Insert > Module and select Subform Control under ActiveX Controls.
Now that you know how easy it is to set up and customize a drop-down list in Excel with five simple steps, why not give it a try?
Your journey through creating a drop-down list is over!
You’ve made it to the end of this guide on how to create a drop-down list in Excel. By now, you should have a good understanding of what a drop-down list is and how to create one from scratch.
We hope this guide has been helpful and that you feel confident creating drop-down lists in Excel. As always, if you have any questions or comments, please let us know.