How to use the Windows Tags property to manage Office files like a pro
How many times have you tried to locate a particular file in your Office folder, only to find yourself staring at an overwhelming list of files? Or maybe you’ve had the opposite problem – you had too many files in one folder that were hard to track because they all looked the same. But what if there was a way to organize these files in an easy-to-use manner that would make it easy to find what you need without having to resort to messing with folder names or subfolders?
The basic principle
If you’re anything like me, you’re always looking for ways to be more organized and efficient. One way to do this is by using the Windows Tags property to manage your Office files. By tagging your files, you can easily search for them later and keep track of what needs to be done with each one. Here’s a quick guide on how to get started
1) Click File in the top left corner of your screen.
2) Select Info from the menu that pops up.
3) Scroll down until you see Tags. Click on it to expand it and show all possible tags.
4) Click on New Tag. A text box will pop up asking for a name for the tag (e.g., Documents). Type in a name, then click OK. The new tag will now appear under Available tags. To add another tag, repeat steps two through four, giving it a different name than the first one. To add all available tags to an item, select Edit > Select All Tags from the drop-down menu. That’s it! You can also delete existing tags by selecting Delete Tag from the drop-down menu next to them. Happy organizing!
Creating a new tag
When you’re working with a lot of Office files, it can be helpful to tag them so you can easily find what you’re looking for later. The Windows Tags property is a great way to do this.
1) Right-click on an open area of your desktop and select New > Shortcut.
2) Type explorer in the location field and press enter to create a shortcut on your desktop that will launch File Explorer.
3) Select Options from the menu bar at the top and then select Change folder and search options.
4) In the tree view on the left, click View tab and scroll down until you see Hide extensions for known file types. Uncheck this box if it’s checked already.
Adding tags to documents
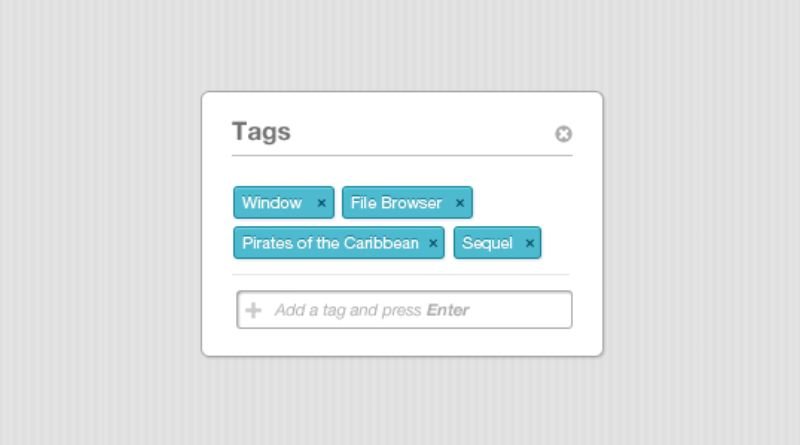
Adding tags to your documents can make them much easier to organize and find later on. To add a tag, simply open the document in question, click on the Tags button in the upper-right corner, and type in the desired tag. You can also add multiple tags to a single document by separating them with commas. For example, if you have a document that you want to tag both high priority and due soon, you would type high priority, due soon into the Tag textbox. Now when you’re looking for that file again, it will show up as tagged under both of those categories.
Renaming tags
The Windows Tags property is a great way to keep your Office files organized. You can rename tags by right-clicking on them and selecting Rename from the context menu. You can also change the tag color by clicking on the Color drop-down menu. To add a new tag, click on the Add button. To delete a tag, select it and click on the Delete button. When you are done, click on Save. If you want to quickly search for a file that has a specific tag or tags, then type in the tag or tags in the Search box at the top of the window and hit Enter. If you want to edit an existing tag’s name or colors without deleting it first, select it in the list of tags and make your changes; then save.
Deleting tags
Tags are a great way to organize your Office files, but sometimes you may want to delete them. Here’s how 1) In File Explorer (or Windows Explorer), find the file that has the tag you want to delete.
2) Right-click on it and choose Properties.
3) Click on Tags and then click on Remove Tag. You’ll see an option for every tag that is currently applied to this file. Choose one of those tags or hit enter for none.